Forming Groups and Scheduling Meetings/Webinars
If you are the host or moderator of a room, your room will have a banner as below.

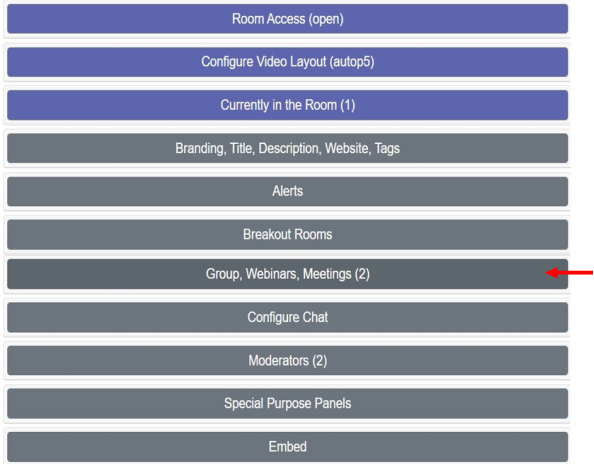
Clicking gear icon at the top right of the screen will open a new window with the following tabs as shown below.
Forming Groups, scheduling meetings and Webinars
Click the “Group, Webinars, Meetings” tab to expand as below
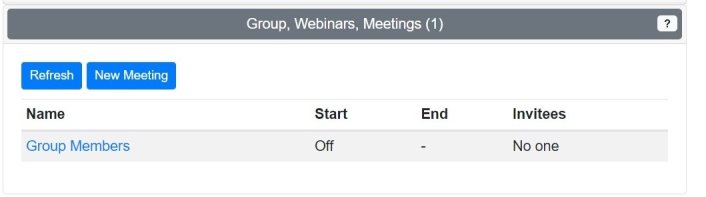
Click “Group Members” to form new groups and “New Meeting” to schedule a new meeting.
Forming Groups and activating group mode
Click “Group Members” to expand as below
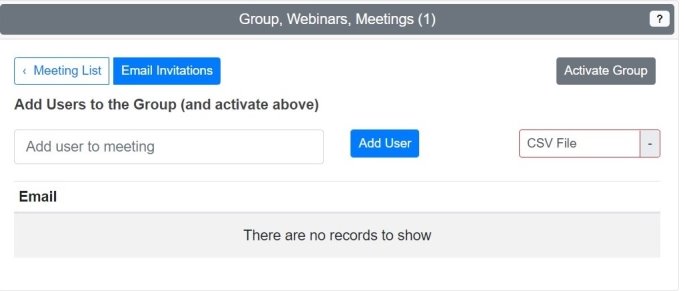
Add members to the group by entering their emails and click “Add User”. Note that the emails should be entered in lower case letters. Users can also be added by entering user emails in an Excel file and saving it as a CSV file. Click the “CSV File” tab to load. CSV file should have at least an email column with 2 optional columns – name and breakout room number. If breakout room number column is present, the corresponding person will automatically be moved onto the corresponding breakout room when breakout rooms are enabled. With a breakout room column, people can be pre-assigned into breakout rooms. Added emails will appear under “Email” as below. After adding the users, click “Activate Group” button and the panel with the added users will appear as below.
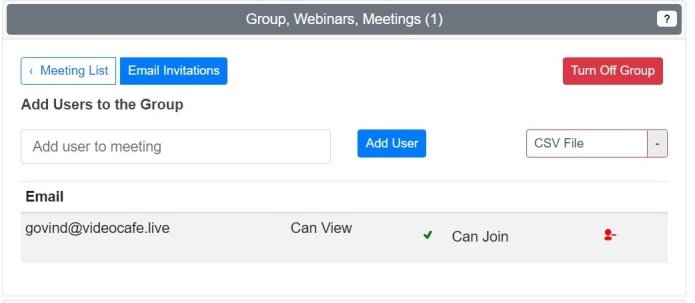
Group mode can be turned off by clicking “Turn Off Group” button. Added users will remain even after the group mode is turned off and the Group mode can be turned on again by clicking the “Activate Group” button at any time. It is highly recommended to keep the “Room Access” mode to “Private” – Room Access Control- while group mode is activated so that only people in the group can enter your room once the group mode is activated.
Scheduling Meetings and Webinars
Click the “Group, Webinars, Meetings” tab to expand as below
Click “New Meeting” to schedule a meeting. The tab expands as below
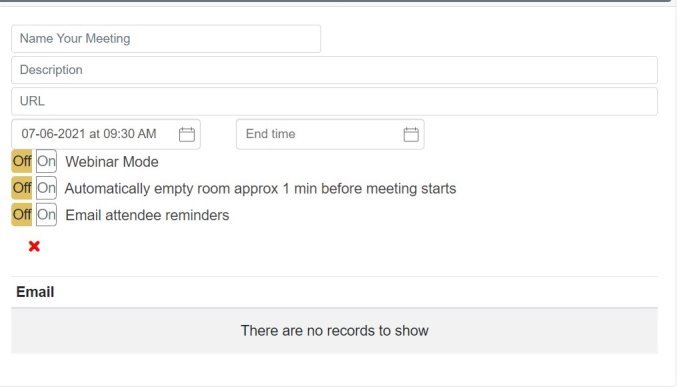
Enter the details of the meeting in the above panel. If the “Webinar Mode” is turned on, you can specify the maximum number of attendees. Once details are entered, an example panel would look like below
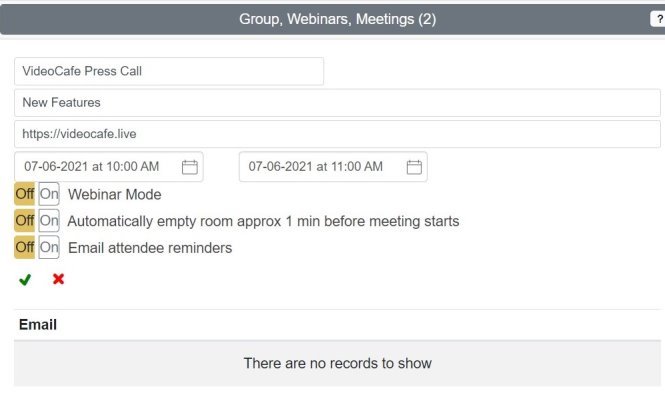
Click the ![]() icon to go to the next panel as below
icon to go to the next panel as below
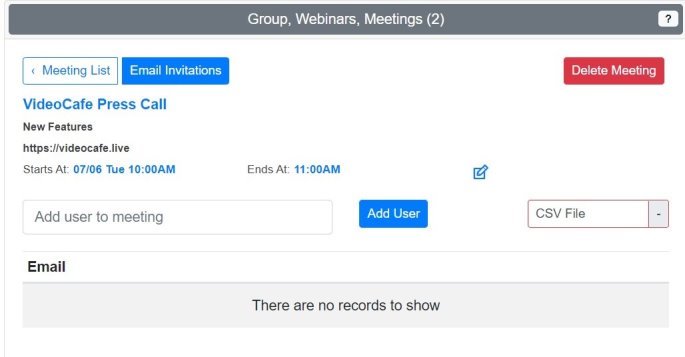
Add participants to the meeting by entering their emails and click “Add User”. Note that the emails should be entered in lower case letters. Participants can also be added by entering their emails in an Excel file and saving it as a CSV file. Click the “CSV File” tab to load. CSV file should have at least an email column with 2 optional columns – name and breakout room number. If breakout room number column is present, the corresponding person will automatically be moved onto the corresponding breakout room when breakout rooms are enabled. With a breakout room column, people can be pre-assigned into breakout rooms. Added emails will appear under “Email” as below. After adding the participants, click “email Invitations” button to email invitations. Meetings can be deleted by clicking “Delete Meeting”. Clicking “Delete Meeting” will send emails to the participants.
Dashboard
A dashboard showing the details of the meetings and the group will appear as below when the “Group, Webinars, Meetings” tab is clicked
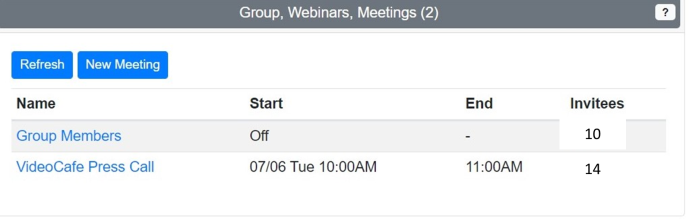
You can click a meeting name to edit a meeting or add/delete members of the group or turn on/off group mode by clicking “Group Members”.