Recording a Session to the Cloud
Once in the room, hovering the mouse over the screen will show controls at the bottom as below.
Bottom Right Onscreen Controls
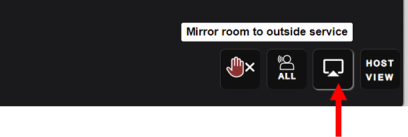
![]() Clicking this mirror icon will open a new popup window (mirror window) as below showing the controls to record in the cloud and to stream to social networks – Facebook, YouTube, Twitch etc.
Clicking this mirror icon will open a new popup window (mirror window) as below showing the controls to record in the cloud and to stream to social networks – Facebook, YouTube, Twitch etc.
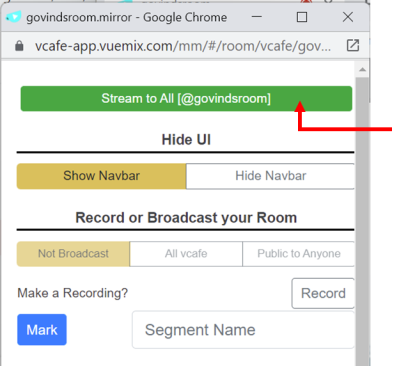
Click the green “Stream to All” tab. That will open a pop up as below
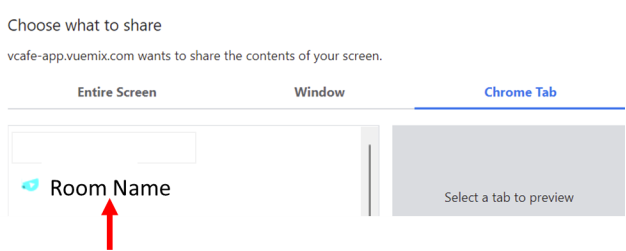
Select “chrome Tab” and then select the room name of the room for which the recording is made. Then click “Share” at the bottom
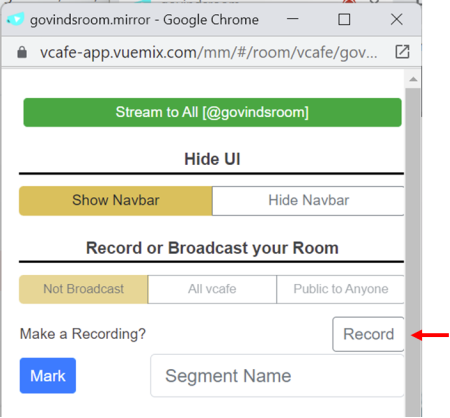
Click “record” in the mirror window to start recording.
When the sharing and recording are going on, the mirror window will appear as below
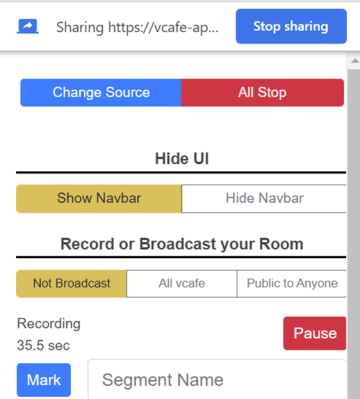
Recording can be stopped by clicking “All Stop” or can be paused by clicking “Pause” buttons.
Browsing the library of recordings

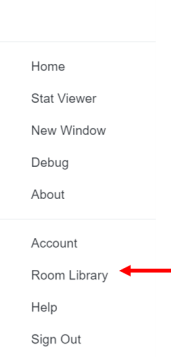
Clicking the pull down at the top right of the screen next to your name will show the following items from which select “Room Library”
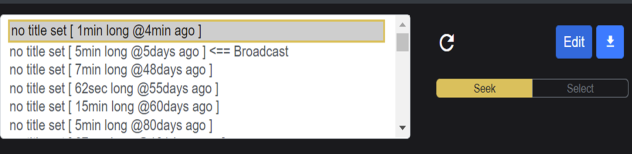
Clicking “Room Library” will open a library of recordings as below
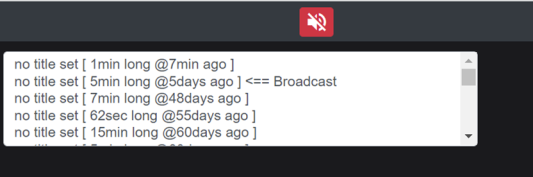
Selecting a recording will show the “Edit” button which when clicked will let you set a title to the recording.